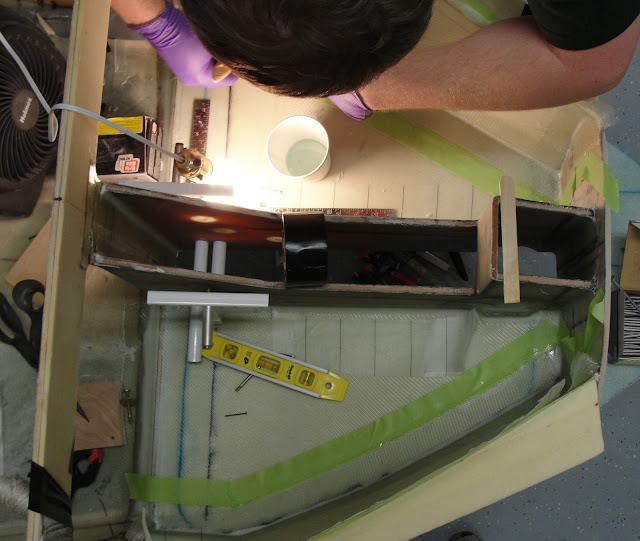
The plan of attack for the walls of the nose gear box was similar to the floor: CNC the urethane foam to a rough shape,
cut the blocks to fit on the fuselage,
and epoxy in place.
Of course, this is all easier said than done. For the walls we opted to glass the parts while they were unattached. We were hoping to avoid any slump on the vertical surface.
These pieces were a little odd to glass with that bump out near the bottom, but we were able to apply 2 plies of BID without too much trouble.
After the BID went on, some peel ply was applied around the perimeter where other parts will be bonded.
After the walls cured, they were bonded onto the floor with a thick layer of micro (tiny glass balloons and resin).
A fillet of micro was applied to the seams and two layers of glass tapes covered that. Peel ply was used on the areas that will be bonded to later.
I'm pretty sure we literally butted heads several times during this lay-up. It was a tight space!
Once everything cured, Ced put the canard on and carved away foam to allow a snug fit.
(Quick summary: Foam was carved to shape and bonded into place. Note the diagram below for positions.)
Almost there!


No comments:
Post a Comment